|
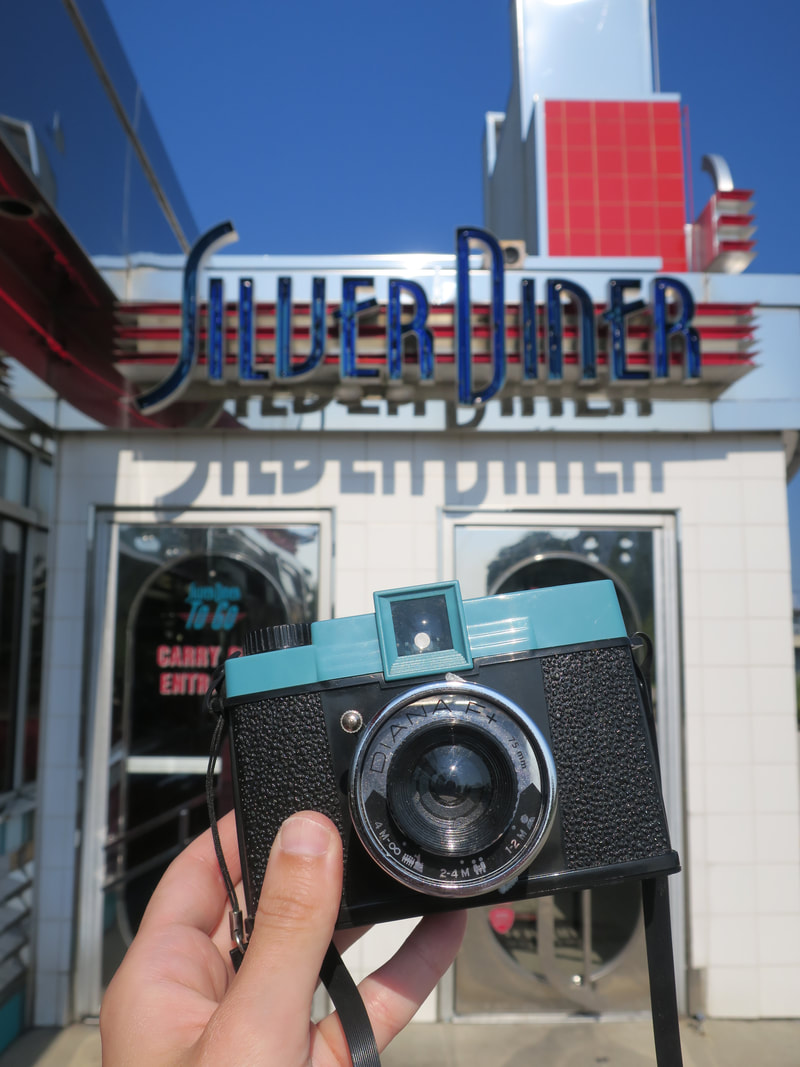
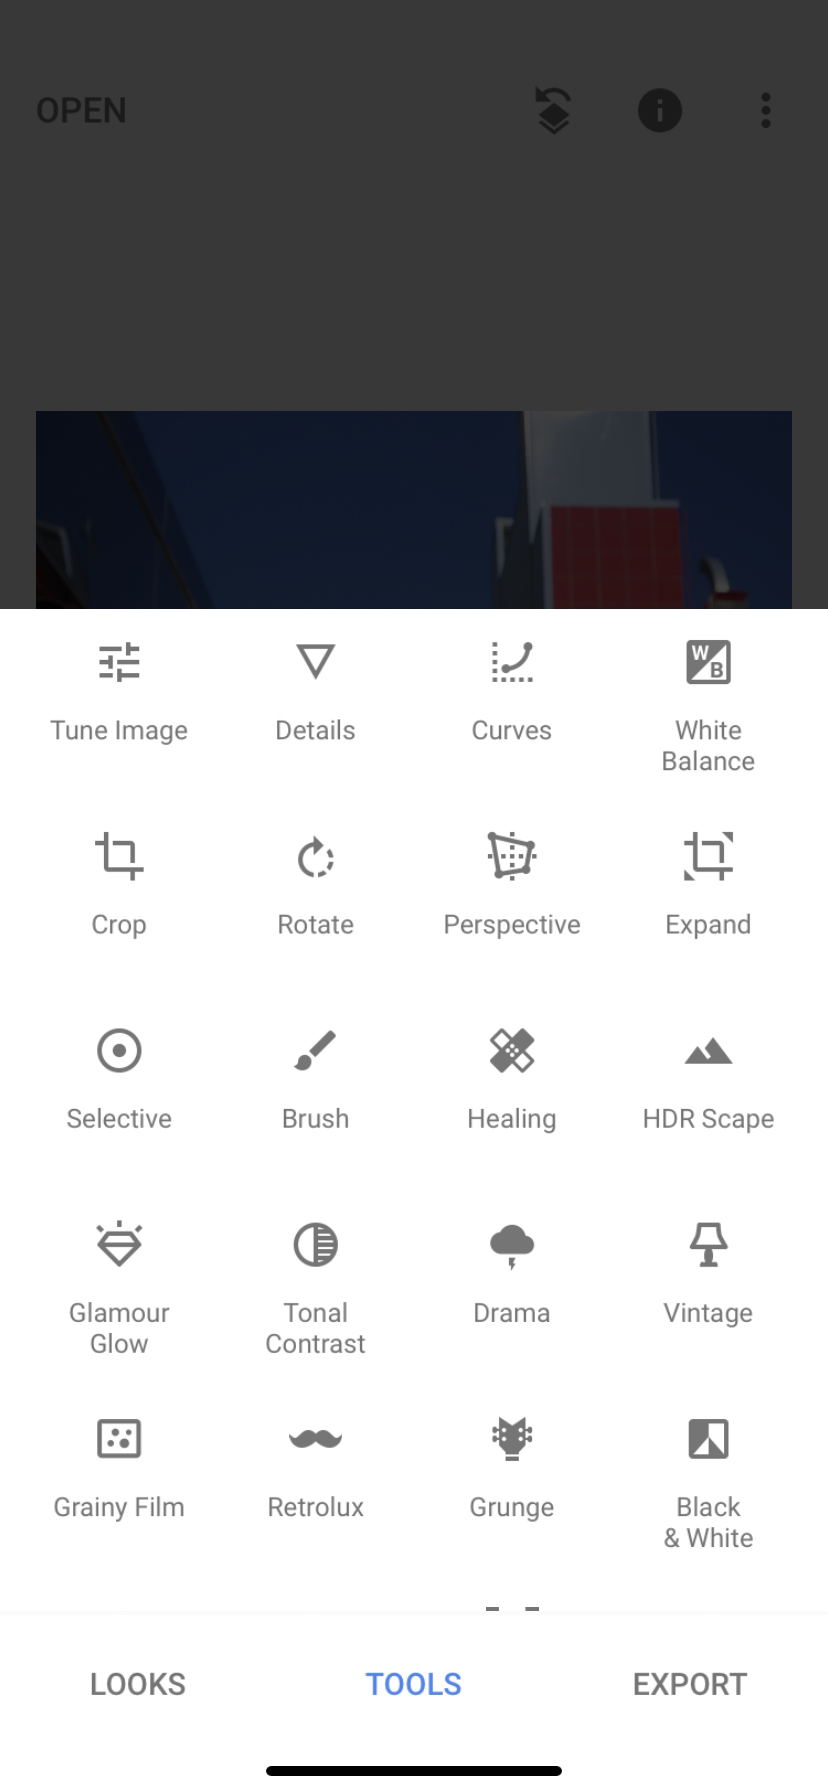
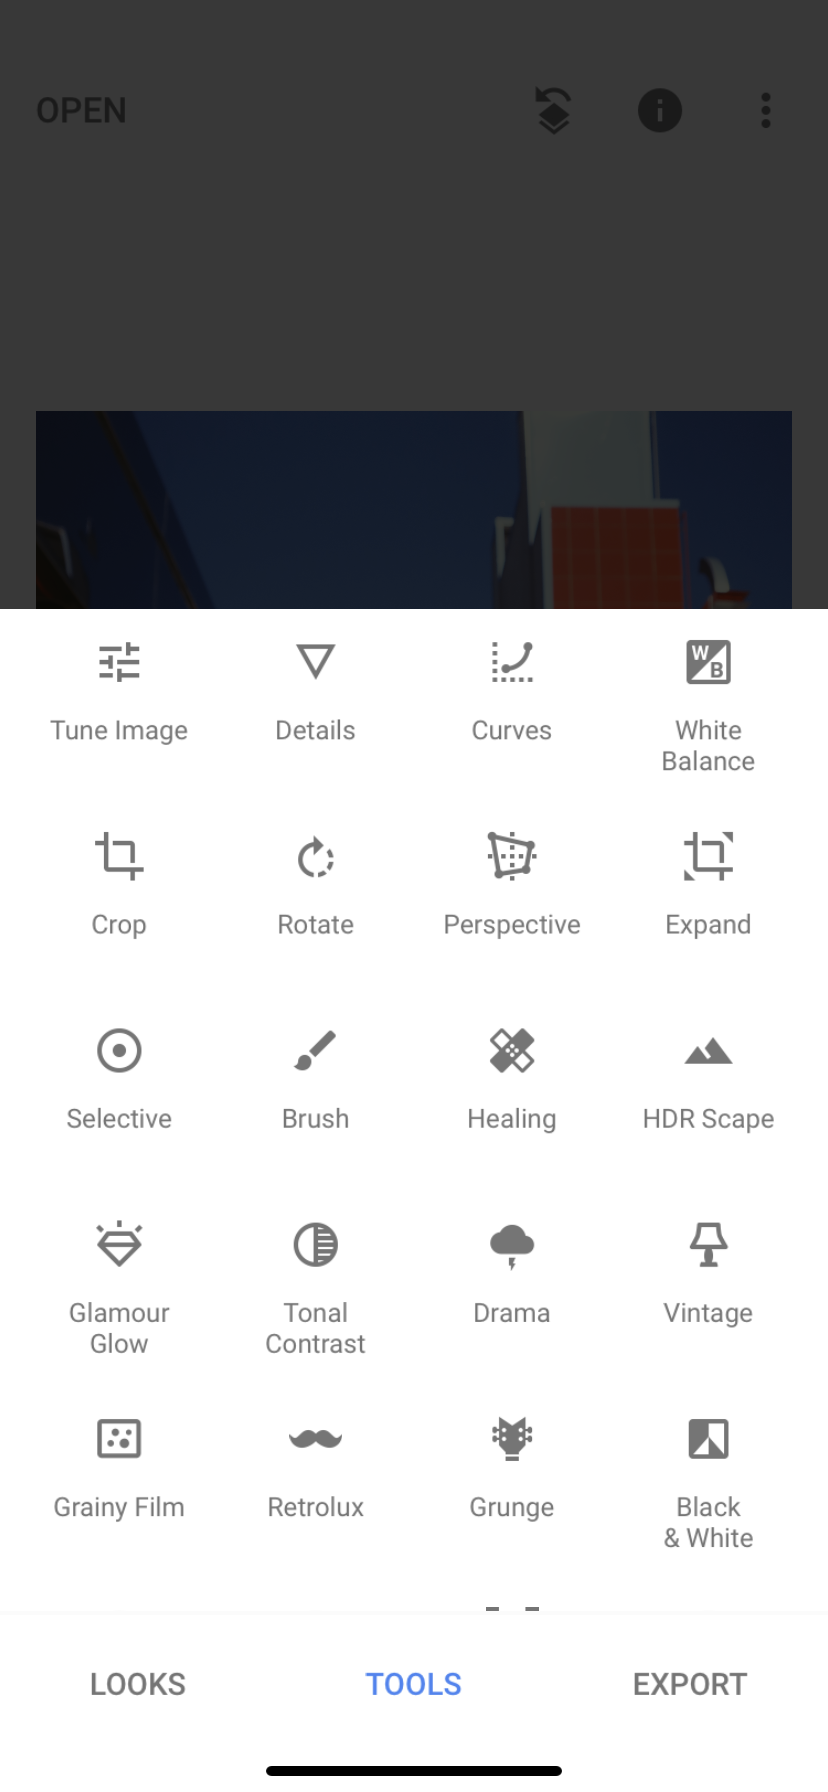
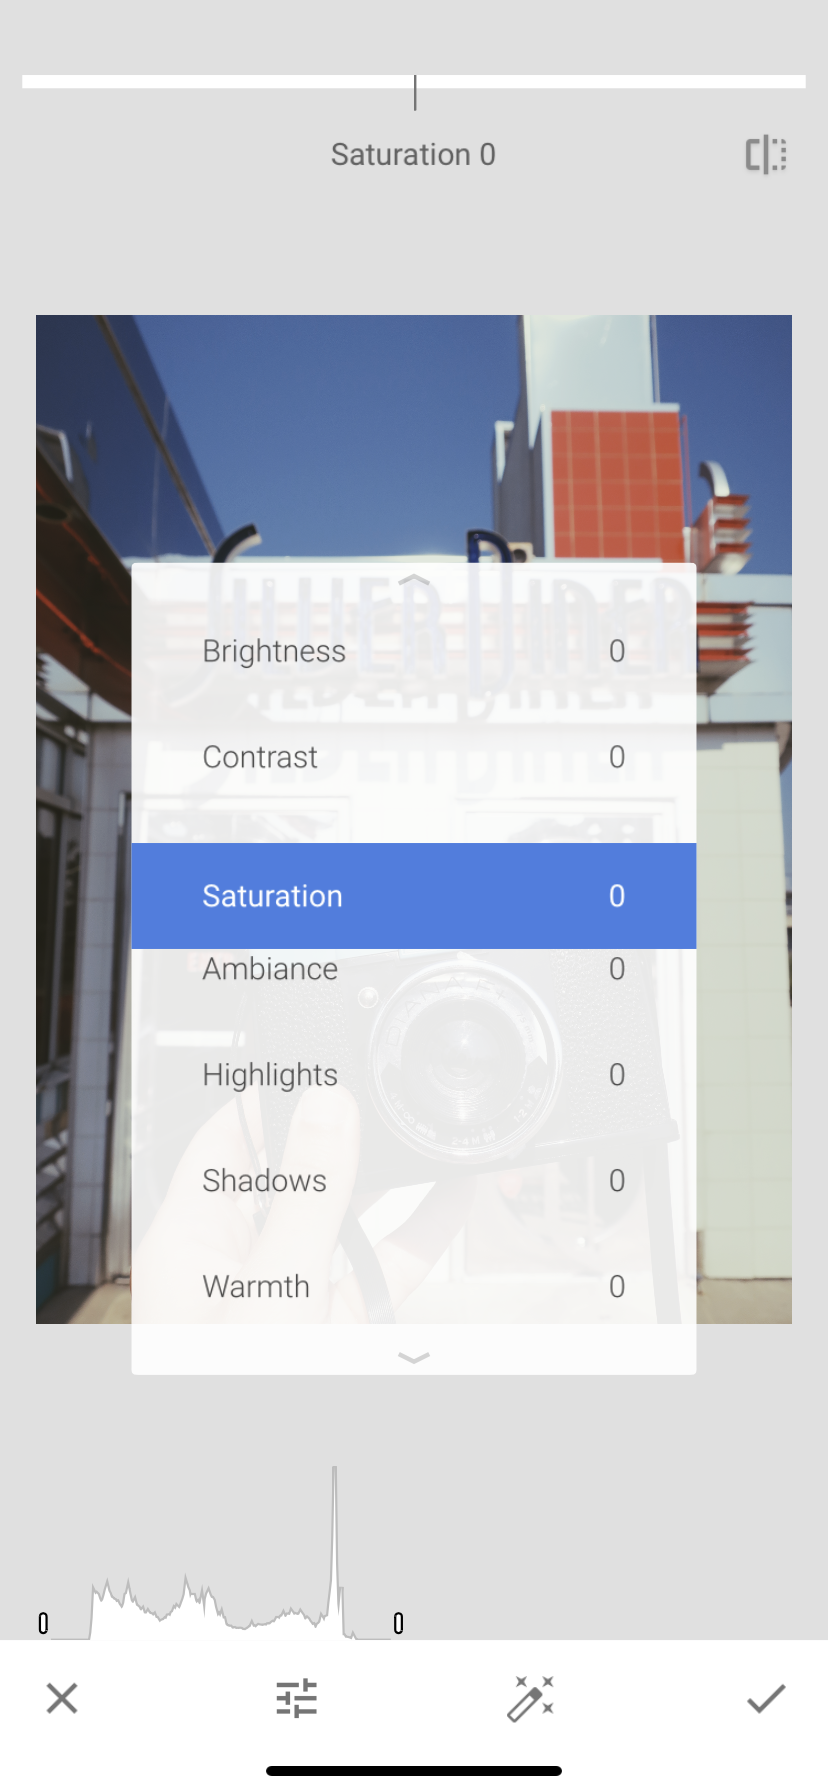
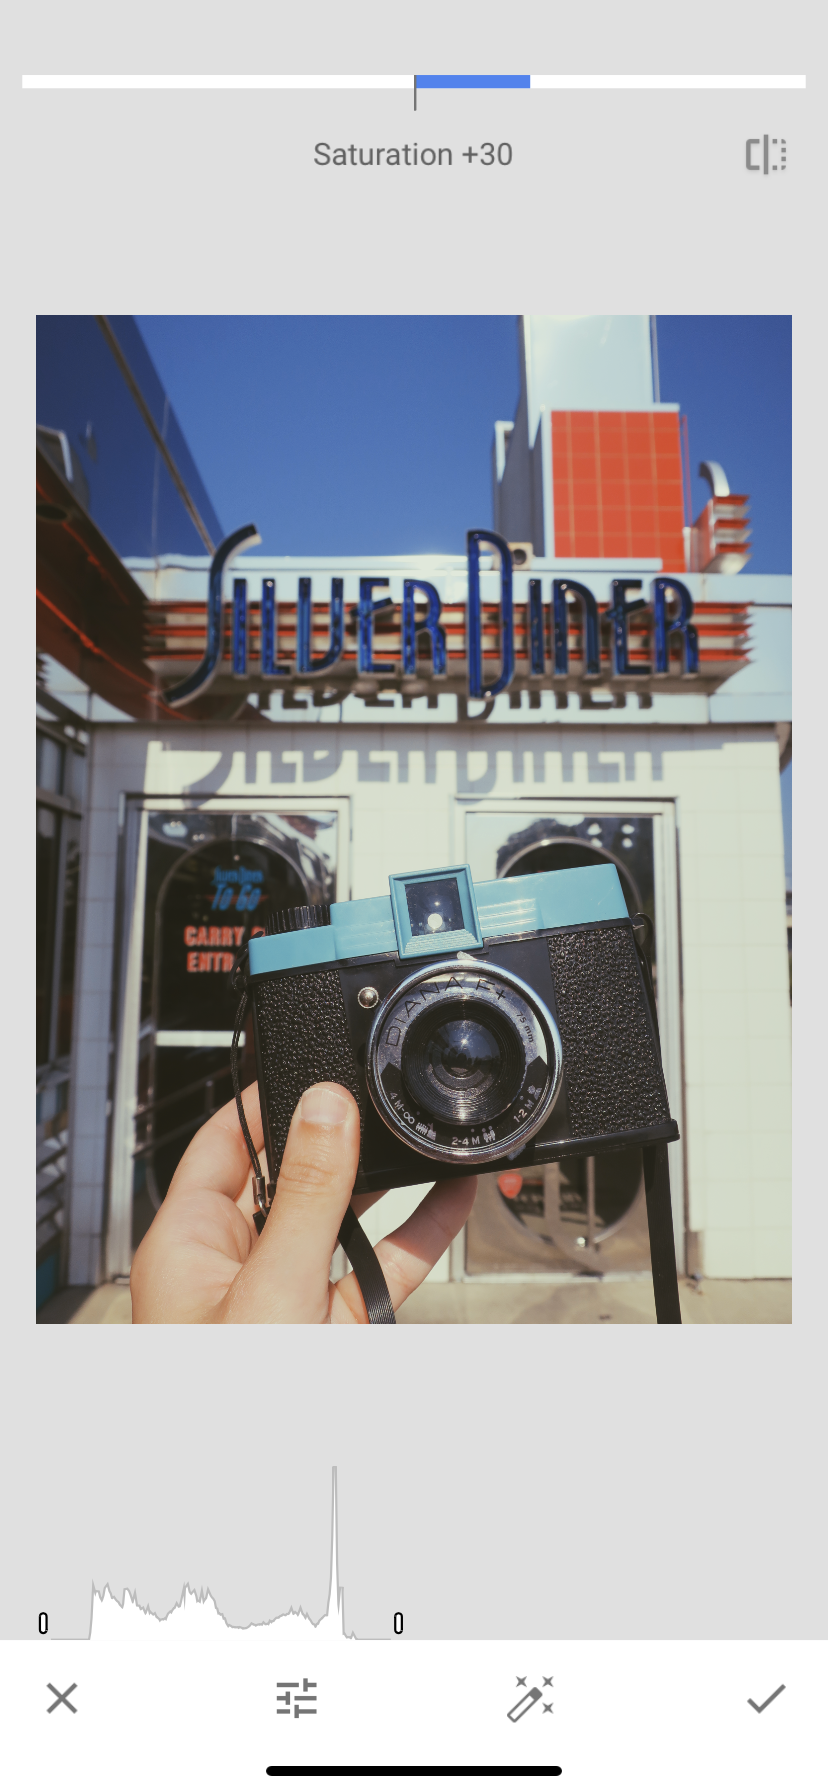
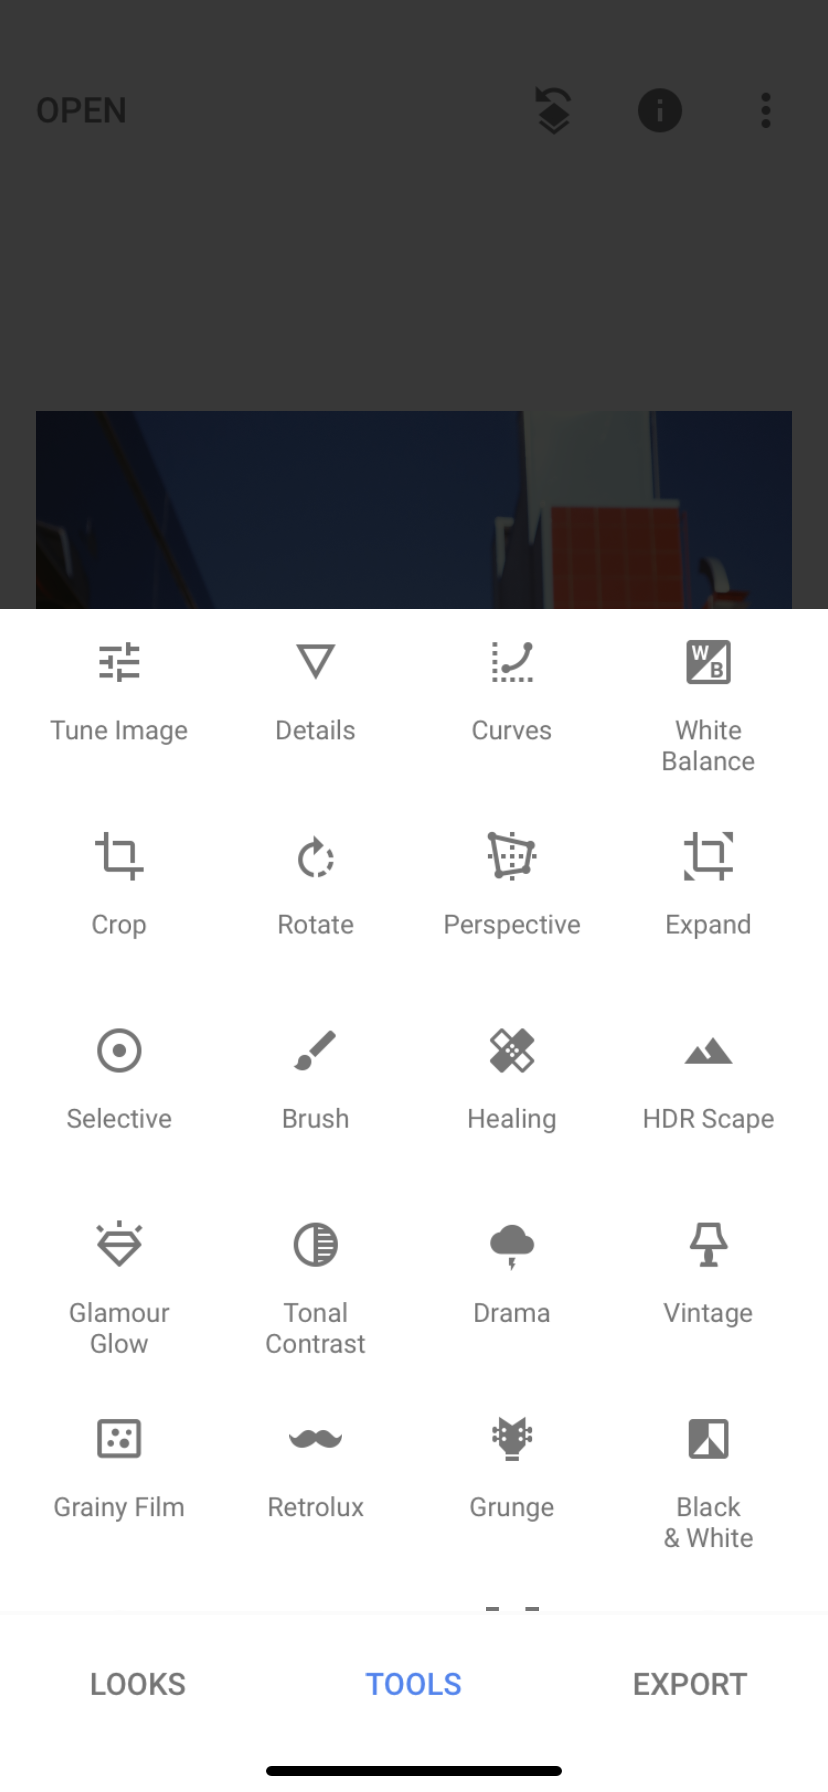
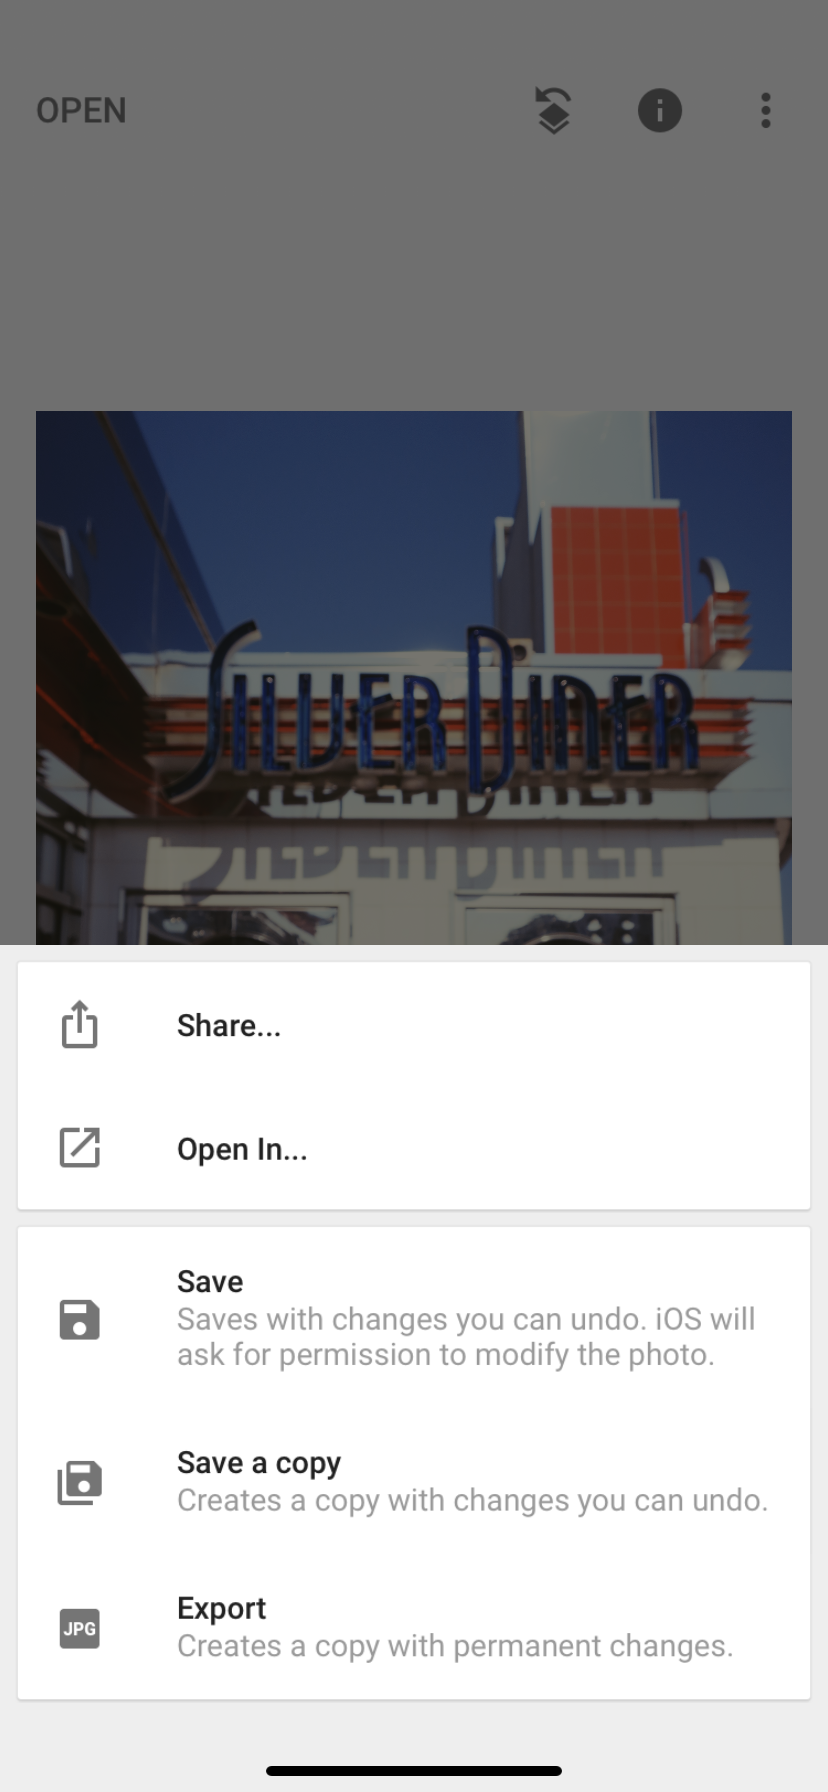
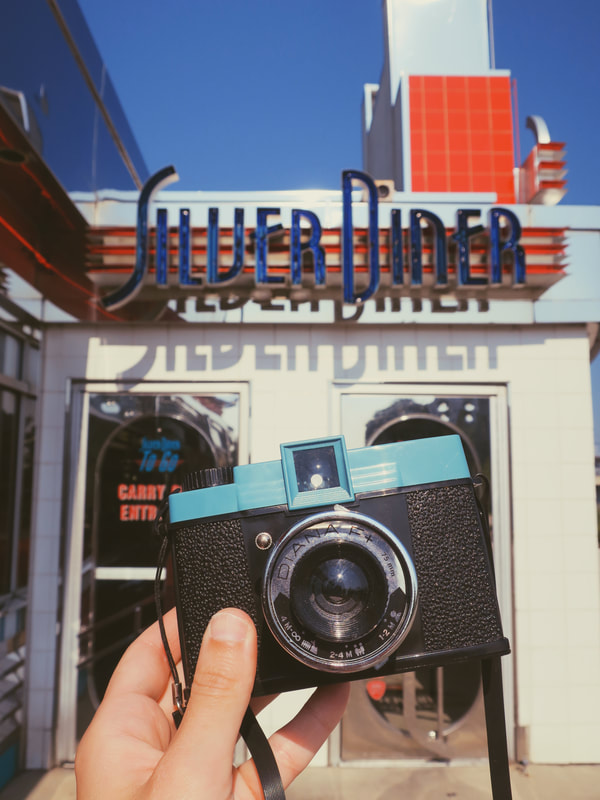
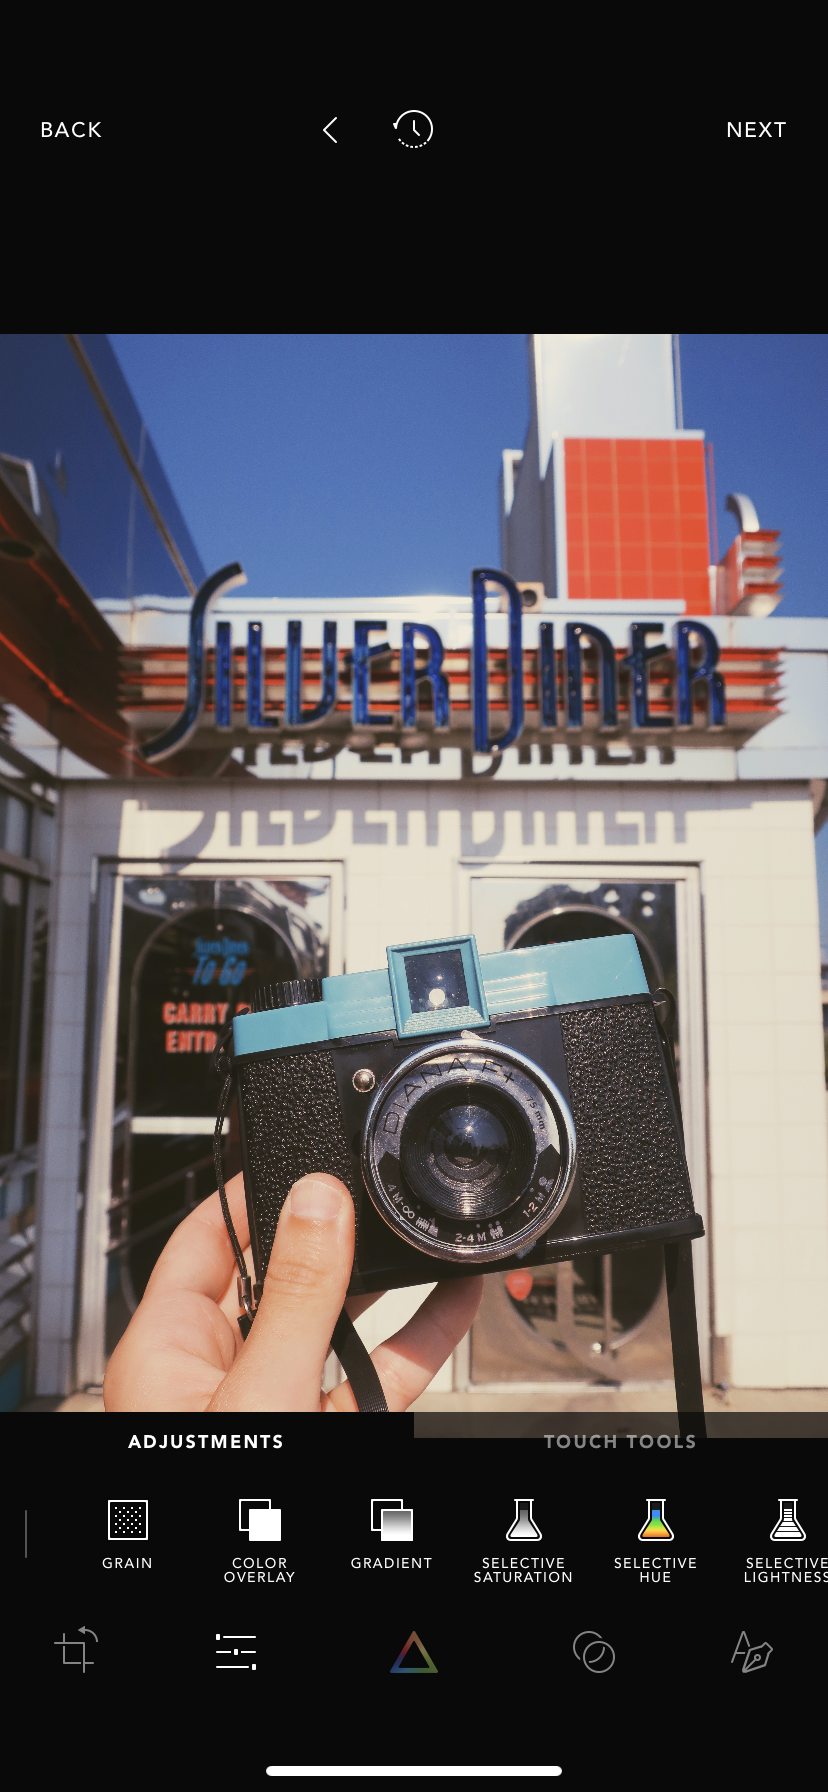
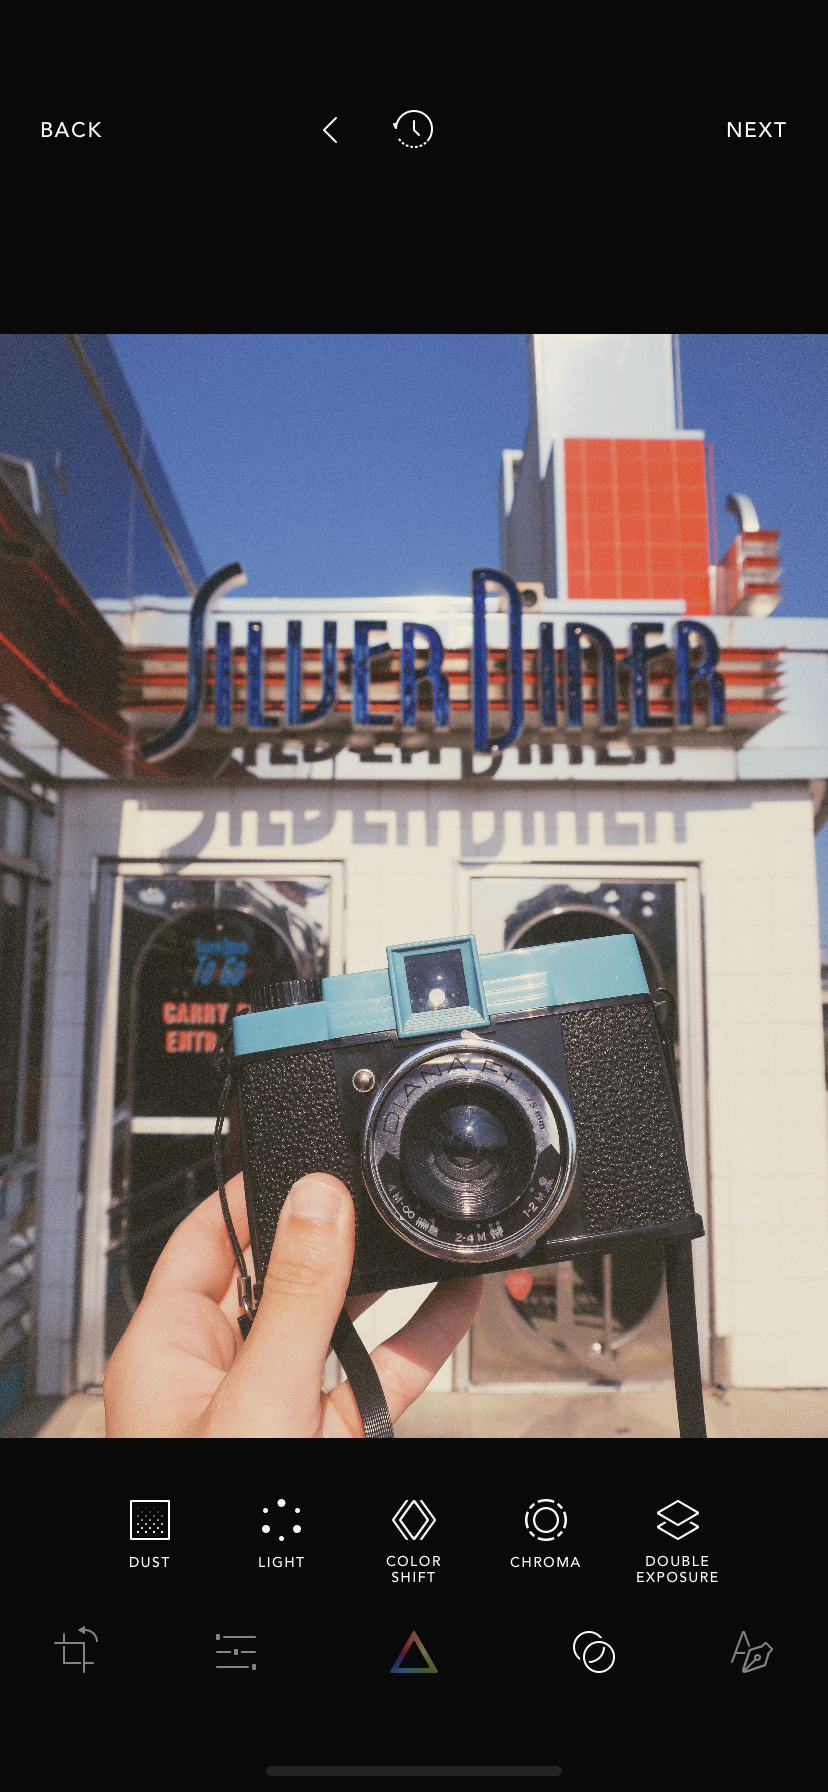
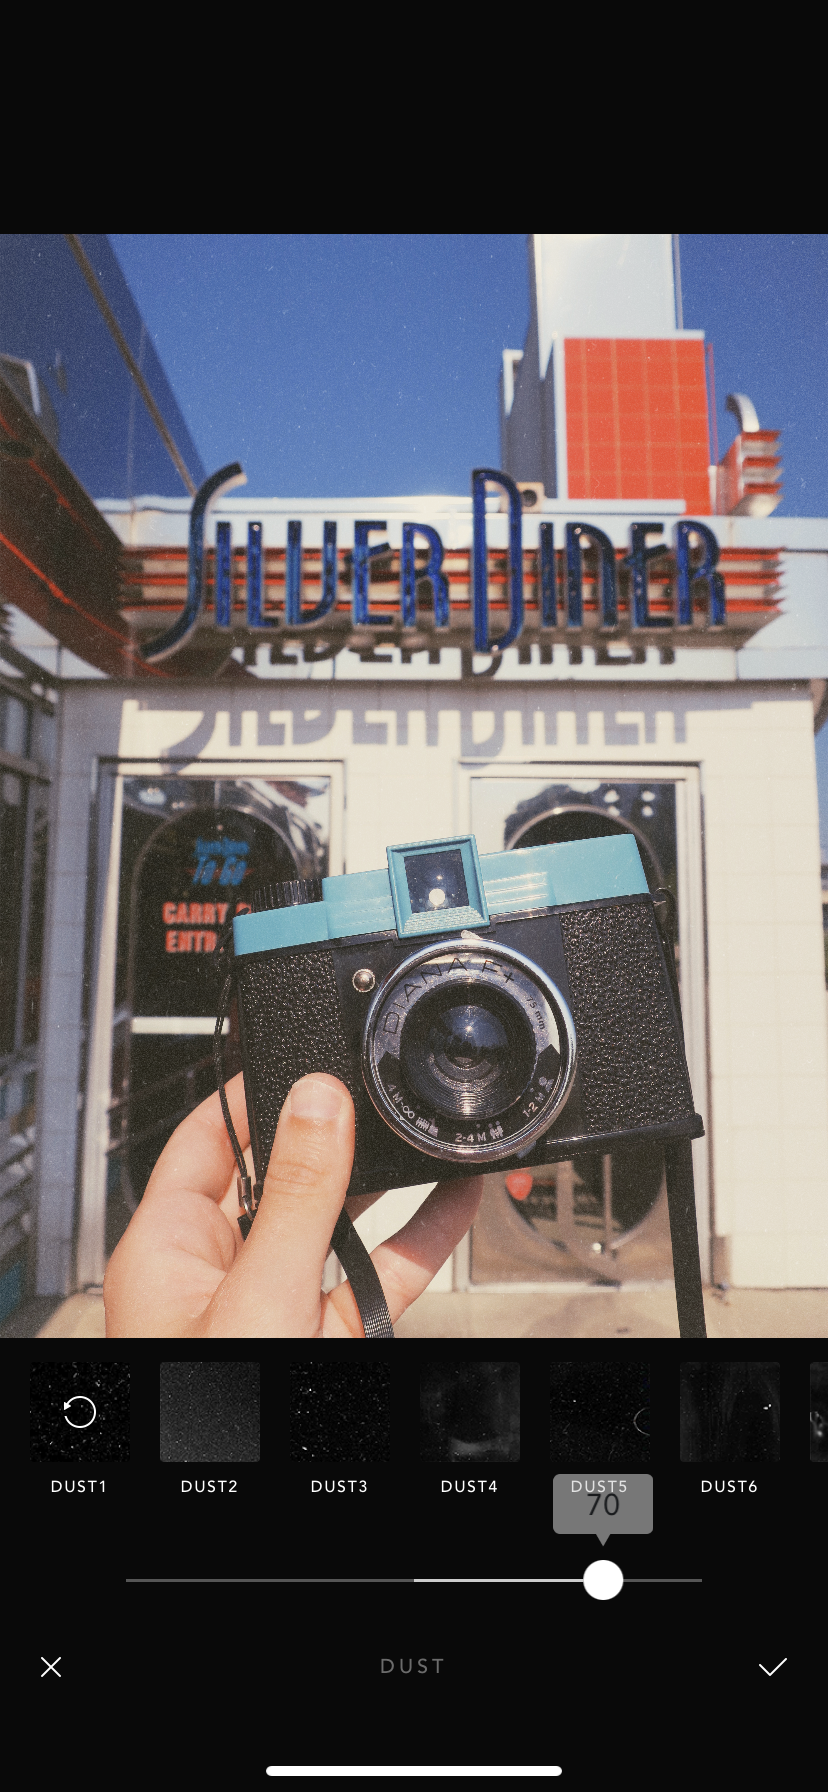
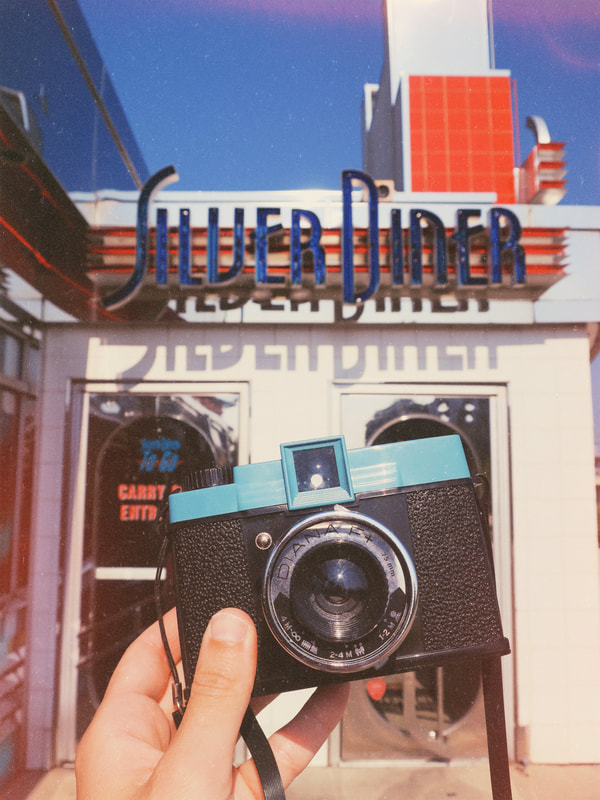
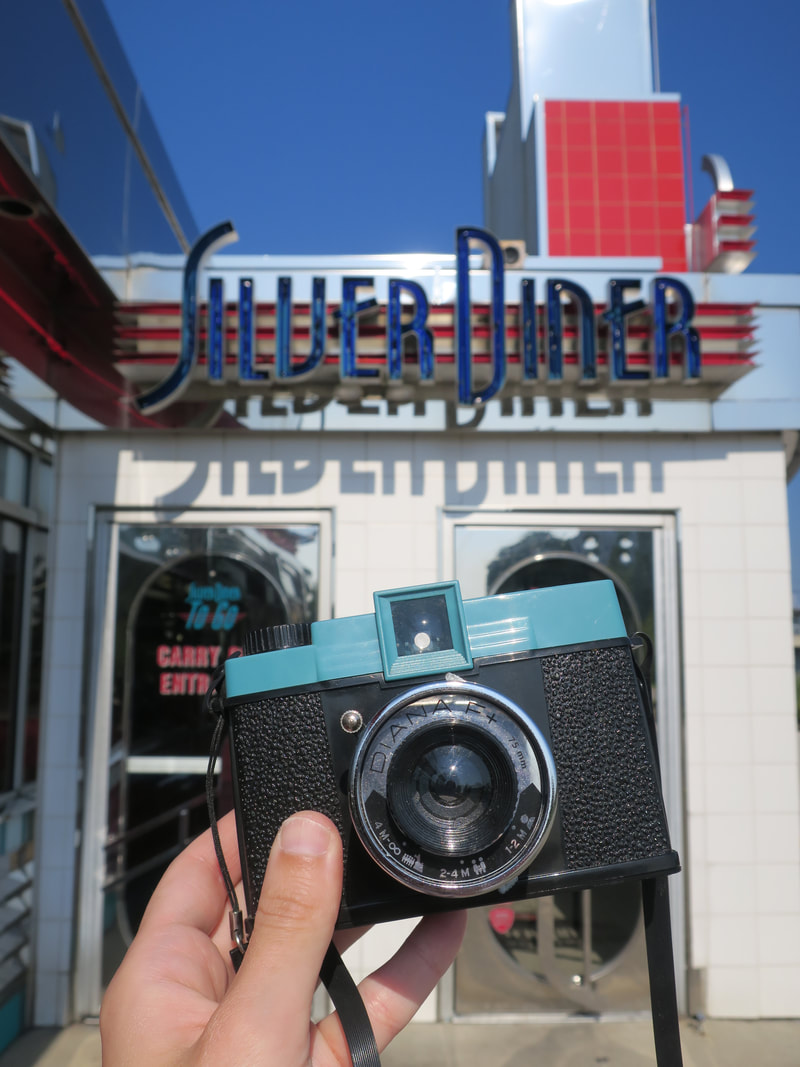
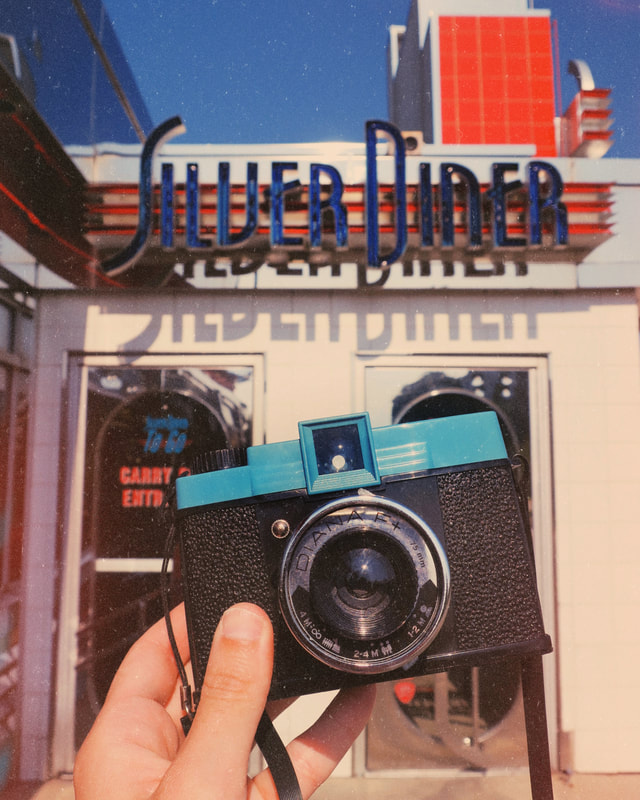
1. Open the photo in Snapseed. 2. Go to the grainy film tool. I always use filter X05. Turn the style strength down (I turn it down anywhere between 35-65, depending on the photo) as well as the grain to 0. 3. Go to the tune image tool and adjust the saturation. I usually turn it up to about 30. 4. Go to the curves tool and select red. You can see where I moved the line to for this photo, but you can adjust depending on the photo. I like adding red because I think it makes the photos warmer and more vintage looking. 5. Save a copy of the photo, then open it in Afterlight. 6. Go to the highlight tone tool, select red, and adjust to about 25. 7. Select the grain tool. I usually like grain 01 and turn it down to about 30. 8. Select the dust tool. I usually like Dust 1 here, then turn the effect down depending on the photo. For "mood" type photos like this one, I keep it higher, I have it on 70 here. Outfit photos I usually lower it to about 30. 9. Select the light tool. Light leak 11 is my favorite. Rotate the effect if needed and turn it down to about 40. 10. Select the contrast tool and increase to about 25. Save the photo. 11. Lastly, open the photo in Instagram. Before + After!
0 Comments
Leave a Reply. |
Archives
August 2023
|
















 RSS Feed
